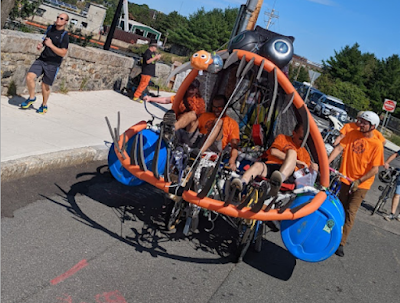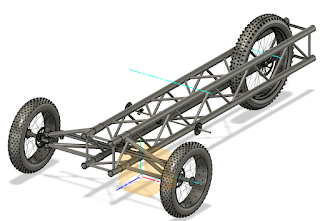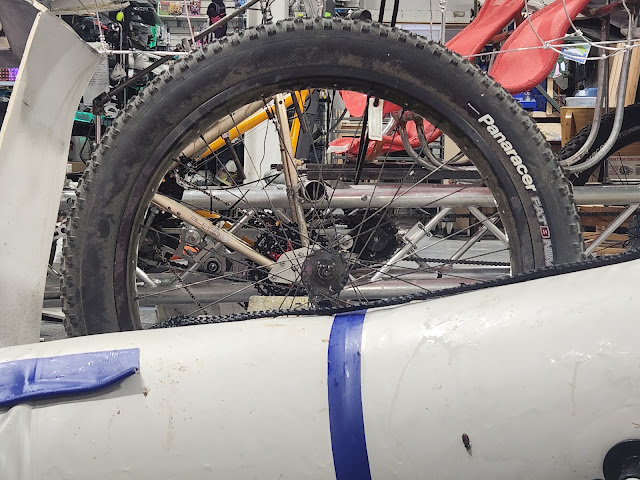
Two successful road tests. Two successful water tests. But we had a problem. The wheels needed to be lowered 12 inches but we couldn’t do that with the current suspension system. The top of the raft that we selected for flotation clears the axle of a 26 inch wheel. Switching from 20 to 26 inch wheels would allow us to mount the raft completely under the truss frame, keeping all the machinery out of the water.

Can I get a lift?
I had just got this bucket together and now I had to make major changes. It took two weeks to come up with a game plan. We were running short on time so reusing most of the existing work at the front end was our first requirement. I first tried to design something closer to a traditional vehicle suspension.

The idea was that we would be able to adjust the ride height during the race. With the start of the race looming, I realized that the idea was too complex to accomplish in the time we had left. We decided instead to keep the suspension static, but relocate the axle and differential below the truss frame. We designed the idea around a steel box beam that would support the main truss. We also added ledges just below the axle for the pontoons, but also for more structural support.
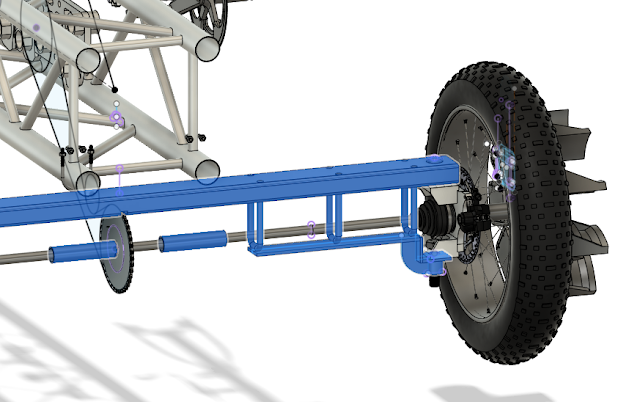
Using the 26 inch wheels also required us to widen the wheelbase by 12 inches. The larger wheels interfered with pedaling while turning, so they had to be moved out for clearance. We decided to make it out of steel, because it’s faster (and easier) to weld–but it’s sooo heavy. Some quick stress analysis confirmed the basics of the idea.
.png "I Just Got This Bucket Together")
We got to work fabricating. Caroline and I welded all the U-shaped legs onto the the box beam. Then we welded together the lower knuckle support brackets and pontoon ledges.


Wheels on the Falcon go round and round