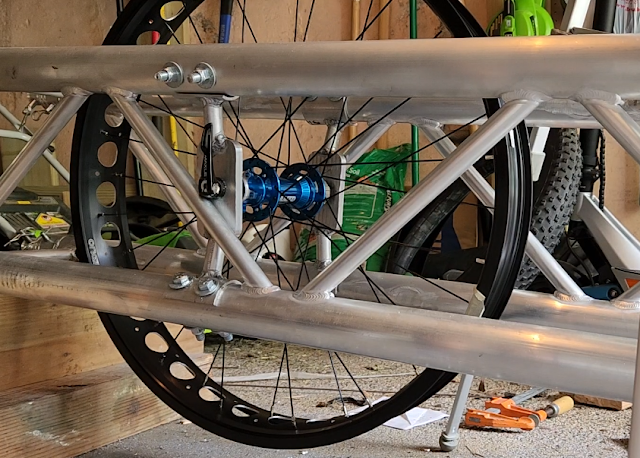
Truing a wheel refers to aligning the rim in relation to the hub by tightening the wheel’s spokes. My first attempt was trash. There was a pronounced egg shape radially and the sides of the rim wobbled back and forth. I didn’t have a truing stand and Lowell Makes’ stand wasn’t wide enough, so I tried to true it by eye. Like I said, trash. I started over.
I loosened and/or replaced all the spoke nuts and watched more videos on lateral and radial alignment. John at The Bike Connector suggested that I mount the wheel on it’s frame and use that as a truing stand. Brilliant! And something I should have realized myself. SMH

The videos were very informative. They used the adjustable indicator on the truing stand to find the high spots on the rim while it spun, mostly by ear. The rim made a slight scraping sound whenever it touched their indicator.
I jerry-rigged an adjustable indicator by zip-tying a clamp to the truss frame.

This gave me adjustability without having to reposition the entire rig every time. It was much easier to find the misalignments and correct them.
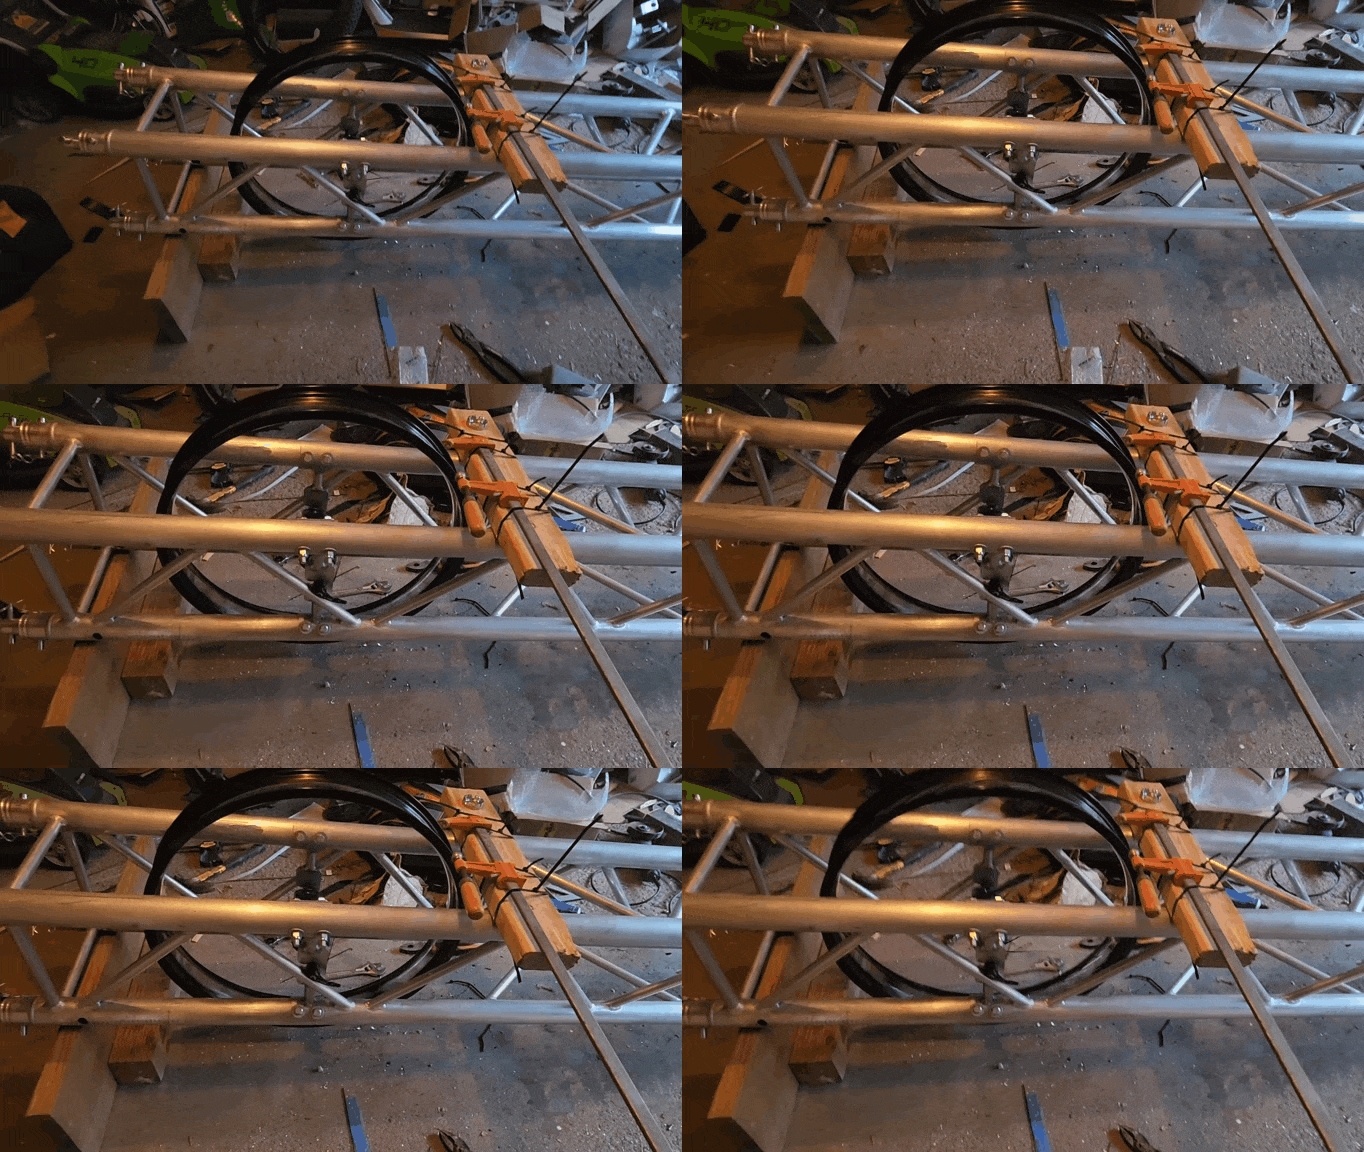
It still took 3 hours to get everything lined up. But now
🎵”This wheel is TRUE!”🎵
After getting the rim aligned, I put the tire back on the rim, attached the brake disc and drive sprocket, and mounted the rear wheel! The sculpture has been up on blocks for a long time. Finally, one of the wheels is on the bus!

The Front End
I re-mounted the differential using the new bushing plate/nose cone.
.png "No, no. This one goes there. That one goes there.")
I noticed that the new plate still flexes a little when mounting. I’ll wait until road testing, but we may have to make a thicker plate.
I modified the right side knuckle to reduce binding while turning and finished mounting both knuckles, including the Haim joints.


I also fabricated the steering plate and the pieces for the steering support. After our machine shop captain welded the support pieces together, I mounted the steering plate to the truss frame.

I made connectors for the tie rods that link the Haim joints on the knuckles with the steering plate. The connectors are joined using threaded rods.

The Front Wheels
I have been avoiding dealing with the front wheels. A solution for mounting the wheels on the CV axles had not revealed itself yet and there were many other “solvable” problems to address. But no longer.
The front wheel hubs came with 0.5″ holes for standard bicycle axle bolts, but the CV joints that the wheels must attach to are 0.75″ in diameter.
First I tried to drill the holes wider, but I barely made a dent. I started getting worried as this was my big idea to make the wheels work. I consulted with our machine shop captain and he discovered that the ends of the front wheel hubs were not solid but cups that could be removed. Huzzah!
Using a hammer and screwdriver we popped out the cups and now there’s a 1.16″ hole. And no drilling required (this time).

This helped us to finally work out how the CV axles will interface with the hubs. We designed sleeves to fit over the CV axle ends. The inside bore of the sleeves is significantly smaller than the CV diameter.
.png "No, no. This one goes there. That one goes there.")
To mount them, we will heat the sleeves up until the inside holes expand wide enough to slip over the CV axle. They will snug up into a very tight press-fit as they cool.
We also designed a custom shoulder bolt that screws onto the end of the CV axle, securing the bicycle hub to the axle.
.png "No, no. This one goes there. That one goes there.")
The hubs will slide over the sleeves and the bolts lock everything down. The bicycle hubs have a brake disc bolt pattern on their flanges. The brake disc attaches to these bolts, and a custom spacer helps align the disc.
.png "No, no. This one goes there. That one goes there.")
CAM files were created for everything but the bolt and parts were made out of aluminum on the Tormach CNC mill.
.jpg "No, no. This one goes there. That one goes there.")
I originally expected to keep the hubs on the wheels to save a lot of time, but the rims are in the way of some drilling that is needed to finish the work.
I took the hubs off of the front wheels to work without obstructions. But now that they are off, I decided to get new hubs.
The original hubs are front/rear, so they’re two different sizes. They would require different parts in order to mount them.

I ordered two identical front hubs instead, in the spirit of standardization. I’ll check the fit of the inside diameters when they arrive.
Hopefully, I can use the sleeves I already made. I won’t need the brake disc spacer, since the new hubs already come with a flange for mounting brakes. I haven’t made the CV bolts yet as I’m waiting to see if I have to make any adjustments.
The Hyperdrive
Meanwhile, I started assembling the Hyperdrive.

The axles are too short for some reason (It’s me, hi. I’m the problem. It’s me), so I ordered new ones. The short belts are a little too long, but I have enough adjustment in the hyperdrive to pick up that slack. Though, I may have to make a longer tensioner block to be able to use four screws. We’ll see if that’s actually a problem.

The long belt is also a little too long (but the next size down is way too short). I found a spot along the path of the long belt where I can add another idler pulley.

That should take up the extra length. I have to wait a week to get that part, so I’m putting a pin in that.
I won’t idle while I’m waiting. Time to tackle the seats and pedals!