We had very little time to bask in the glory of the new suspension. Getting to our first road test of the year still required finishing the new steering, reattaching the brakes, and tying all the wheels and the pedals back into the Hyperdrive. I concentrated on the drivetrain first.
To reattach the front wheels to the Hyperdrive, the differential had to be remounted.

The previous two versions of the differential supports were inadequate. The first was very difficult to keep aligned and the second was part of a heavy steel box beam. For version three, my initial idea was to attach the differential to the end of a free-swinging arm, but I realized that scheme wouldn’t work.

The two sides of the differential need to be aligned, supported in two places, and also locked in place. The swing arm would not have held the differential still. I would’ve had to add more structure to properly immobilize the arm. More structure, more weight. So I abandoned the swing arm and reimagined the supports as a box that would be suspended under the chassis at a specific location.

Instead of drilling more holes into the chassis, I reused the mounting holes of the already installed butterfly brackets to secure the new differential frame, replacing the short bolts with long threaded rods. The holes were well defined, making it easier to center the differential on the wheel axles.

After measuring the area created by the threaded rods, I designed aluminum I-beams to hold the differential’s axles and attach to the threaded rods. Each axle had to be supported in two places to prevent the differential from twisting or pinching so I also designed standoffs that bolted onto the I-beams. To keep the I-beams lined up with each other, I added notched cross-beams that locked onto the front and back of the I-beams.

Making the pieces was another CNC fest, though I worked on simpler parts and features separately while the Tormach sculpted the harder ones. I drilled the bolt pattern on the I-beams using the manual mill and tapped the holes manually. I also made the cylindrical standoffs using the lathe.


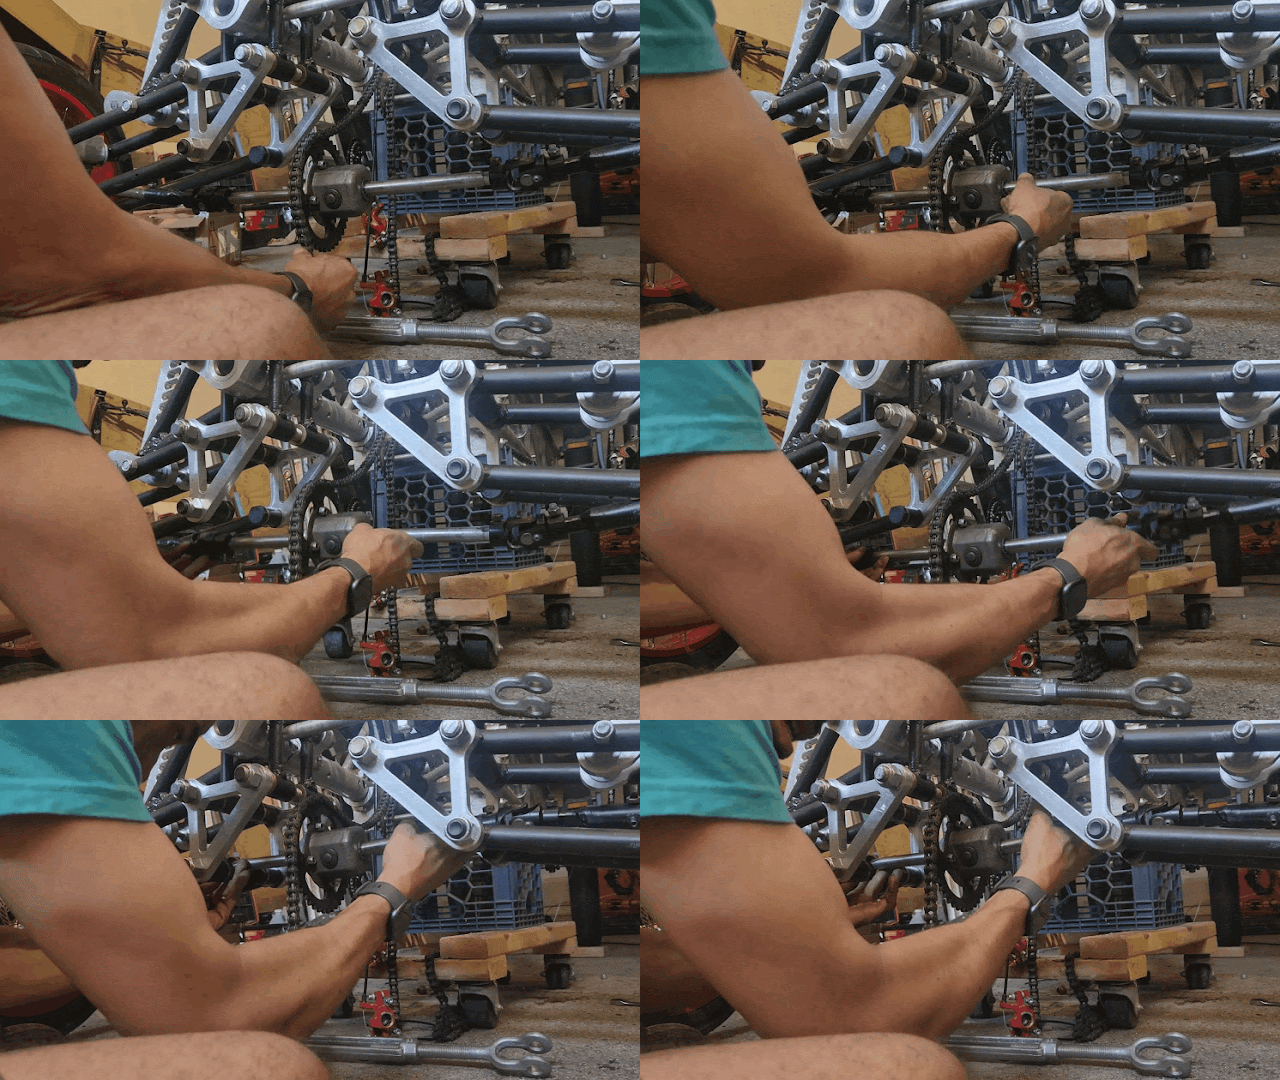
With the parts fabricated, I was ready to assemble the differential’s frame. After bolting the standoffs onto the I-beams, I seated the differential between them, then clamped the crossbars on to create a stiff box around the differential and slid the entire assembly onto the threaded rods. I adjusted the location of the nuts to level the differential front-to-back and left-to-right. I reconnected the front wheel axles. The length of all the axle connections pieces was longer the the space available, so I had to remove the tires to slide the parts together.
We are ever closer to riding the Falcon out of the garage. It’s just a matter of reattaching the Hyperdrive’s drive chains to the differential, pedals, and rear tires; finalizing the steering; and reattaching the brakes. For the glory!